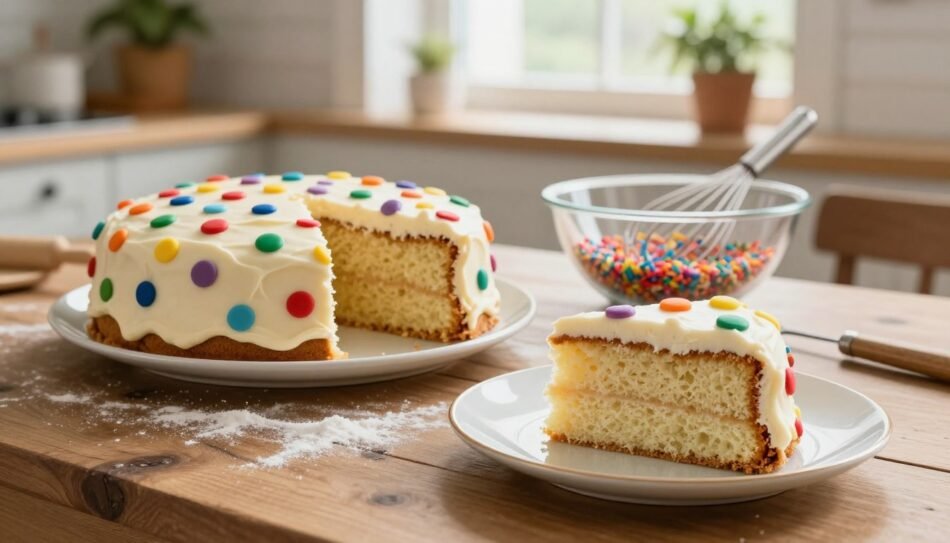

Learn how to make a dot cake recipe that’s simple, colorful, and delicious, perfect for any celebration or family dessert time.
Baking has a special power to bring people together. The smell of vanilla in the kitchen can take you back to happy times. Maybe it was a birthday, filled with laughter and a beautiful cake that everyone loved.
Remember the smiles when everyone took their first bite? This dot cake recipe wants to bring back that joy. With simple ingredients and a bit of creativity, you can make a stunning dessert that will wow your family and friends.
In this guide, you’ll learn to make a tasty treat from basic pantry items. Each step is designed to help you succeed, from mixing the batter to adding the final touches. This recipe is perfect for both beginners and experienced bakers, aiming to create a dessert that looks and tastes amazing.
Key Takeaways
- Learn how to create a visually stunning dot cake.
- Transform simple ingredients into a delicious dessert.
- Follow easy steps suitable for all baking skill levels.
- Discover tips for perfecting your cake’s appearance.
- Enjoy the process of baking and sharing with loved ones.
Understanding the Appeal of a Spotted Cake Design
The spotted cake design has won over many hearts. It’s loved for its fun look, perfect for parties. When you slice into a dot cake, the bright colors inside are a wonderful surprise. This makes eating the cake even more enjoyable.
Why Visual Presentation Matters
How food looks can change how we think it tastes. A stunning cake can make the taste better. Here’s why looks matter:
- It grabs attention and builds excitement.
- It makes us look forward to the first bite.
- It makes the whole eating experience better.
Choosing Your Color Palette
Choosing the right colors is key for your spotted cake. The right colors can make your cake stand out. Here are some tips:
- Use gel-based food dyes for bright colors.
- Go for high-contrast colors to make spots pop.
- Pick a base color that goes well with your spot colors.
By focusing on looks and colors, you can make a beautiful spotted cake. It will impress everyone at any event.
Essential Ingredients for Your Homemade Polka Dot Cake
To make a delicious homemade polka dot cake, you need the right ingredients. Each one is important for the cake’s texture and taste. Here’s what you’ll need:
- Cake Flour: This ingredient makes the cake tender and keeps the spots in place.
- Unsalted Butter: Use butter that’s at room temperature for easy mixing and flavor.
- Granulated Sugar: This sweetener adds the perfect sweetness to your cake.
- Eggs: Make sure they’re at room temperature for a smooth batter.
- Pure Vanilla Extract: It’s essential for boosting the cake’s flavor.
- Milk: Also at room temperature, it helps make the batter smooth.
- Baking Powder: This leavening agent is needed for the cake to rise.
Using a digital kitchen scale for precise measurements is highly recommended. Accurate amounts of each ingredient are key to a successful homemade polka dot cake. Remember, preparation is key. Gather everything before you start mixing to ensure a seamless baking experience.
Preparing the Batter for Your Dot Cake Recipe
Making a delicious dot cake begins with the right batter. The vanilla batter is key for a soft and fluffy texture. Pay close attention to mixing and dividing the dough. Follow these steps for a beautiful dot cake.
Mixing the Base Vanilla Batter
First, gather your ingredients. A basic cake batter includes:
- 2 cups of all-purpose flour
- 1 cup of granulated sugar
- 1 cup of unsalted butter, softened
- 3 large eggs
- 1 tablespoon of vanilla extract
- 1 teaspoon of baking powder
- 1/2 teaspoon of salt
Start by creaming the butter and sugar until light and fluffy. This adds air for a soft texture. Then, add eggs and vanilla extract, mixing well after each. Lastly, sift in flour, baking powder, and salt, stirring until just combined.
Dividing and Coloring the Dough
Now, your base batter is ready for colorful spots. Here’s how:
- Divide the batter into separate bowls, depending on how many colors you want.
- Add concentrated food coloring to each bowl. Mix until the colors are vibrant.
- Make sure each colored batter is the same consistency. This ensures even baking.
With your colorful batters ready, you’re set for the next step. Each layer will surprise you with a delightful flavor when sliced!
Techniques for Creating Perfect Colorful Spots
Making a beautiful dot cake needs careful techniques to make your spots pop. This easy dot cake tutorial will show you how to get that perfect look. First, get your colored batter ready and your base vanilla batter. The base batter’s thickness is key to holding the colored spots.
Here are some effective techniques to consider:
- Use a small cookie scoop or a piping bag to deposit uniform amounts of colored batter.
- Layer the colored batter carefully into the base batter to maintain distinct colors.
- Ensure the base batter is thick enough to prevent the colors from bleeding into one another.
- Space out the colored spots evenly for a balanced appearance.
By following these techniques, you can create a consistent pattern that will be visible in every slice of your cake. Remember, the key to a successful dot cake lies in the careful layering of the batter.
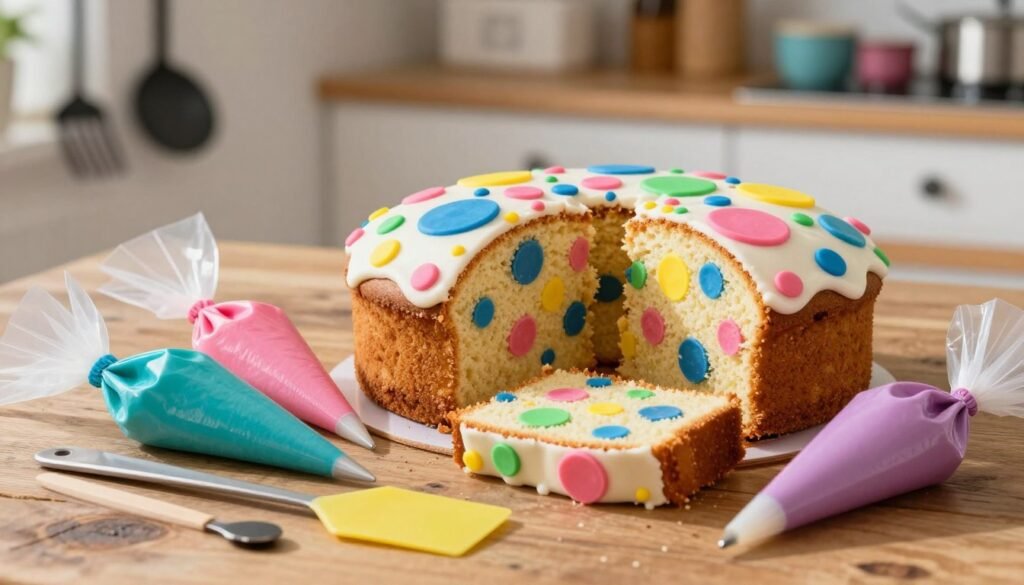
With practice, you will master the art of making colorful spots that delight both the eyes and the taste buds. Enjoy the process and watch your cake transform into a stunning dessert!
Baking Tips for a Moist Vanilla Dot Cake
Baking a perfect vanilla dot cake needs careful attention. You want it to be moist and full of flavor, with bright spots. It’s important to manage oven temperatures and check if it’s done.
Managing Oven Temperatures
Oven temperature is key for a great vanilla dot cake. Changes in heat can cause uneven rising or dryness. Here are some tips:
- Preheat your oven well before baking.
- Use an oven thermometer for accurate readings.
- Keep the temperature steady, around 350 degrees Fahrenheit.
- The Maillard reaction, for a golden crust, starts at 300 degrees Fahrenheit.
Testing for Doneness
Knowing when your cake is ready is vital for the right texture. Here’s how to check:
- Stick a wooden skewer into the cake’s center.
- See if it comes out clean or with a bit of moist crumb.
- Don’t overbake, as it can make the cake dry and dull the spots.
Follow these tips for a moist, tasty vanilla dot cake. Keep your oven temperature steady and always check for doneness. This way, you’ll get a cake that everyone will love.
Assembling Your Decorative Dot Cake Layers
Once your cake layers cool completely, it’s time to put them together. Start by leveling the tops with a serrated knife. This makes sure your layers stack flat, avoiding wobbles or gaps.
Then, apply a thin layer of frosting between each cake. This frosting acts as a glue, keeping everything stable. Proper alignment makes your cake look professional and shows off the spotted pattern.
Follow these steps for a smooth assembly:
- Level the tops of your cooled cake layers.
- Place the first layer on your serving plate.
- Spread a thin layer of frosting on top of the first layer.
- Carefully place the second layer on top.
- Repeat the frosting and layering process until all layers are stacked.
After stacking, check for any unevenness. If needed, gently press down on the top layer to even it out. This ensures your cake looks as good as it tastes.
| Layer Number | Frosting Amount (cups) | Notes |
|---|---|---|
| 1 | 1/2 | Base layer, use a thicker amount |
| 2 | 1/4 | Standard layer, even spread |
| 3 | 1/4 | Top layer, light amount for a smooth finish |
Remember, patience is key as you assemble. Taking your time will result in a stunning decorative dot cake that wows everyone.
Frosting and Finishing Your Funfetti Dot Cake
Frosting is key to making your funfetti dot cake look and taste great. It’s important to pick the right frosting consistency. You want it to hold its shape but be easy to spread. Here are some tips to help you get it right.
Selecting the Right Frosting Consistency
When picking frosting for your funfetti dot cake, keep these points in mind:
- Firmness: The frosting should be thick enough to keep its shape.
- Spreadability: It must be soft enough to spread without tearing the cake.
- Flavor: Choose a frosting that goes well with the vanilla cake flavor.
Applying a Smooth Crumb Coat
A crumb coat is vital for a polished look. It seals in loose crumbs and stops streaks in your final frosting layer. Here’s how to do it:
- Spread a thin layer of frosting over the whole cake.
- Chill the cake for at least 20 minutes to set the crumb coat.
- After it’s set, apply a thicker layer of frosting for a smooth finish.
By following these steps, your funfetti dot cake will look like it came from a bakery. A smooth, beautiful frosting will highlight the colorful spots. It will make your cake a standout at any event.
Creative Ideas for a Rainbow Dot Cake Presentation
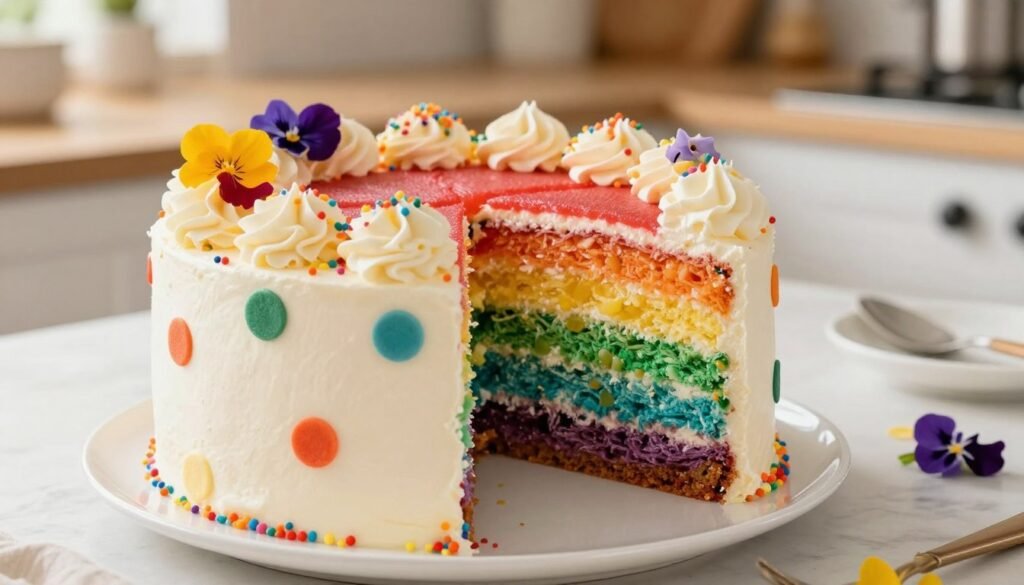
Turn your rainbow dot cake into a stunning centerpiece for any event. The look of a cake can really make your guests’ experience better. Bright, saturated colors will make your cake pop against a white or chocolate base.
Adding edible glitter or colorful sprinkles to the outside is a great idea. It adds sparkle and hints at the fun surprise inside. Serving your cake on a simple stand will let the vibrant colors of the spots be the main focus.
Here are some creative ideas to make your rainbow dot cake presentation stand out:
- Use a variety of contrasting colors for the spots.
- Incorporate edible flowers for a natural touch.
- Decorate with themed cake toppers that match your celebration.
- Arrange fresh fruit around the base for a fresh look.
These ideas will not only make your rainbow dot cake look amazing but also create a memorable experience for your guests. The cake can be a fun conversation starter at any gathering.
| Presentation Ideas | Description |
|---|---|
| Colorful Plates | Use vibrant plates that complement the cake’s colors. |
| Layered Serving | Serve in layers to showcase the colorful interior. |
| Interactive Elements | Include a DIY decoration station for guests. |
| Lighting | Use soft lighting to enhance the cake’s colors. |
By using these ideas, your rainbow dot cake will not only taste great but also look amazing. It will be a highlight of your celebration.
Storing and Serving Your Spotted Dessert
After making your colorful spotted dessert, it’s important to store and serve it right. This keeps your cake fresh and lets you enjoy its taste and look for longer. Here are some tips to keep your cake as tasty as the day you baked it.
Keeping Your Cake Fresh
To keep your colorful spotted dessert fresh, try these storage tips:
- Store in an airtight container at room temperature for up to three days.
- For longer storage, keep it in the refrigerator for up to a week.
- Avoid exposing the cake to direct sunlight or heat sources.
Best Practices for Slicing
When it’s time to serve your cake, slicing it right is key for a great look. Use these tips for clean, beautiful slices:
- Use a sharp, thin-bladed knife.
- Dip the knife in warm water before each cut for a smooth finish.
- Wipe the knife clean between slices to prevent color smearing.
These methods will help you serve your colorful spotted dessert beautifully. Each piece will show off the stunning internal pattern. Enjoy your creation and impress your guests with both taste and presentation!
Conclusion
Making a dot cake is a fun and rewarding experience. It combines your baking talents with creativity. This guide has shown you how to handle batter, bake the cake right, and finish it professionally.
Feel free to try out different colors and flavors as you bake. Dot cakes are very versatile. They’re perfect for birthdays, celebrations, or just because they let you show off your style.
Enjoy the process of baking and let your creativity shine. With time, you’ll get better at making beautiful dot cakes. Everyone will love them. Happy baking!