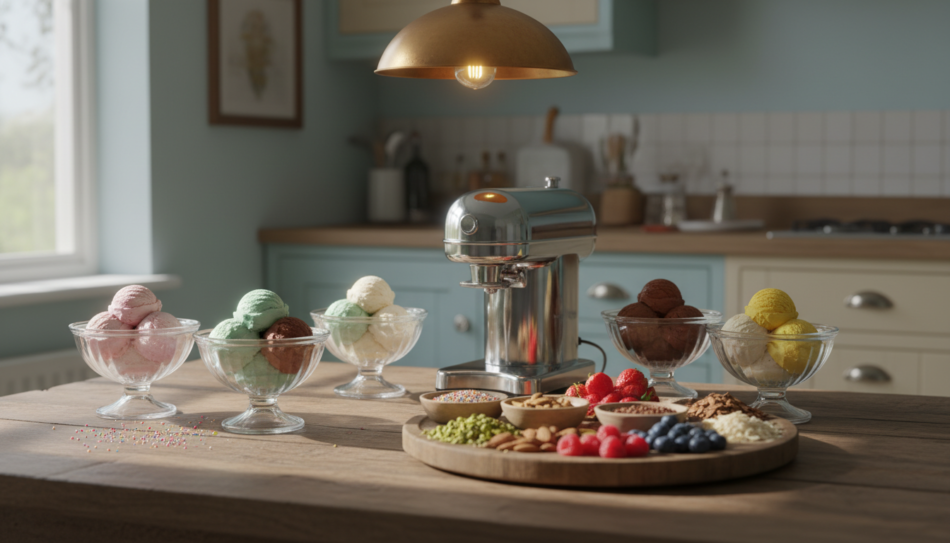

Learn how to make the perfect ice cream bar at home with simple steps, delicious recipes, and tips for creating creamy, refreshing treats anytime.
Imagine a warm summer day with the sun shining and laughter everywhere. You grab a delicious ice cream bar, feeling the coolness wash away your worries. Making your own ice cream bar at home can bring back those happy moments. You get to pick your favorite flavors and ingredients, making sure every bite is perfect.
Making an ice cream bar is more than a fun kitchen project. It’s a way to connect with loved ones and share in the joy of making something special together. You can skip artificial ingredients and control the sweetness, making your treat not only tasty but also healthy. This guide will show you how to get that creamy texture and rich flavor, just like store-bought treats.
Get ready to explore the world of homemade ice cream bars. You’ll learn how to choose the best dairy and master the chocolate coating. Let’s start this sweet adventure together!
Key Takeaways
- Making ice cream bars at home is a rewarding experience.
- You control the ingredients and flavors for a healthier treat.
- Learn techniques for achieving creamy consistency.
- Master the art of chocolate coating for a professional finish.
- Enjoy the process with family and friends.
Essential Equipment for Homemade Frozen Treats
Making tasty frozen treats at home needs the right tools. Good equipment makes the process easier and the results better. You’ll need mixing bowls and whisks, and special molds for popsicle stick ice cream.
Mixing Bowls and Whisks
For your ice cream base, use stainless steel mixing bowls. They’re durable and keep the right temperature. Use sturdy wire whisks for the best results. Here’s what to consider:
- Two different sizes of whisks for various mixtures.
- Large bowls for heavy cream bases.
- Smaller bowls for lighter fruit purees.
These tools help mix your ingredients well. This makes your ice cream smooth.
Silicone Molds for Popsicle Stick Ice Cream
Silicone molds are key for popsicle stick ice cream. They’re flexible, making it easy to remove the treat without breaking it. Look for molds that are:
- Durable for repeated use.
- Easy to clean.
- Fun shapes and sizes for presentation.
The right molds make your popsicle stick ice cream look great. They also keep its shape and texture.
| Equipment | Purpose |
|---|---|
| Mixing Bowls | For combining and aerating ice cream base |
| Wire Whisks | For mixing ingredients effectively |
| Silicone Molds | For shaping popsicle stick ice cream |
Having these tools will make making frozen treats at home better. Enjoy making your popsicle stick ice cream!
Selecting Premium Ingredients for Your Base
The secret to a delicious premium ice cream bar starts with the right ingredients. Quality is key, focusing on dairy like heavy cream and whole milk. Look for a butterfat content of at least 12% to 16%. This gives your ice cream a rich, velvety texture that stays smooth when frozen.
Flavor is also important, and vanilla is essential. Use high-quality vanilla beans or pure extracts for a deep, aromatic taste. Fresh, locally sourced ingredients have fewer additives, making your dessert taste better. By choosing these premium components, you make your homemade ice cream bar stand out.
- Heavy cream with 12%-16% butterfat
- Whole milk for creaminess
- High-quality vanilla beans or pure extracts
- Fresh, locally sourced ingredients
Here’s a quick comparison of different dairy options:
| Ingredient | Butterfat Content | Flavor Quality |
|---|---|---|
| Heavy Cream | 36% | Rich and creamy |
| Whole Milk | 3.25% | Light and refreshing |
| Half-and-Half | 10.5%-18% | Balanced |
Choosing the right ingredients is the first step to a premium ice cream bar. Spend time finding quality products. Your hard work will pay off with a dessert that wows everyone.
How to Make the Perfect Ice Cream Bar
Making the perfect ice cream bar at home needs careful steps. Focus on chilling time and setting the stick right. These steps help make your ice cream on a stick delicious and stable.
Optimizing Chilling Time
Chilling your ice cream base is key. Here’s how to do it right:
- Chill the base in the refrigerator for at least 4 hours.
- Make sure it’s cold enough to set well.
- Don’t rush this step to avoid big ice crystals.
Setting the Stick Correctly
Putting the stick in the right spot is important. Here are some tips:
- Put the stick in the center of the mold for stability.
- Wait until it’s chilled well before adding the stick.
- Keep an eye on your freezer’s temperature to stay consistent.
By following these tips, you’ll make a great ice cream bar. It will impress your family and friends. Enjoy making and eating it!
Preparing the Molds and Sticks
Getting your molds ready is key for making popsicle stick ice cream that’s both beautiful and tasty. Choose silicone molds because they make it easy to get the ice cream out and look smooth. Before you pour in the ice cream base, follow these steps:
- Lightly grease the silicone cavities with a neutral-flavored oil if recommended by the manufacturer.
- Make sure your wooden sticks are food-grade and splinter-free. They’ll be right next to your dessert.
- After pouring the base, tap the mold firmly against the counter. This helps release any trapped air bubbles that could affect the texture.
These careful steps help prevent your popsicle stick ice cream from cracking when you take it out of the mold. A well-prepared mold is the first step to a delicious treat.
To show how important preparation is, here’s a quick look at common mold materials and their benefits:
| Material | Benefits |
|---|---|
| Silicone | Flexible, easy to clean, and provides a smooth finish. |
| Plastic | Lightweight and often less expensive, but may require more effort to release the ice cream. |
| Metal | Durable and retains cold well, but can be harder to clean and may require greasing. |
By preparing your molds well, you’re on your way to making wonderful popsicle stick ice cream. Take your time with this step to get the best results.
Mastering the Chocolate Coating Process
Creating the perfect chocolate covered ice cream takes skill and detail. Tempering chocolate is a key step. It makes your chocolate snap and shine. Here’s how to master chocolate coating.
Tempering Chocolate for a Snap
To temper chocolate, heat it to 115 degrees Fahrenheit. This melts the cocoa butter fully. Then, cool it down to 88 degrees Fahrenheit.
This temperature is key for the chocolate’s texture and shine. When done right, the chocolate will be firm and shiny.
Dipping Techniques for Even Coverage
Use a tall, narrow glass to dip your ice cream bars. This method ensures even coverage. Dip the bar smoothly and quickly.
Let the excess chocolate drip off for a few seconds. Place the bar on parchment paper to set. A well-tempered chocolate shell will stay glossy and firm for several minutes.
Mastering these techniques will take your chocolate covered ice cream to the next level. With practice, you’ll make treats that are delicious and beautiful.
Creative Topping Ideas for Handheld Frozen Treats
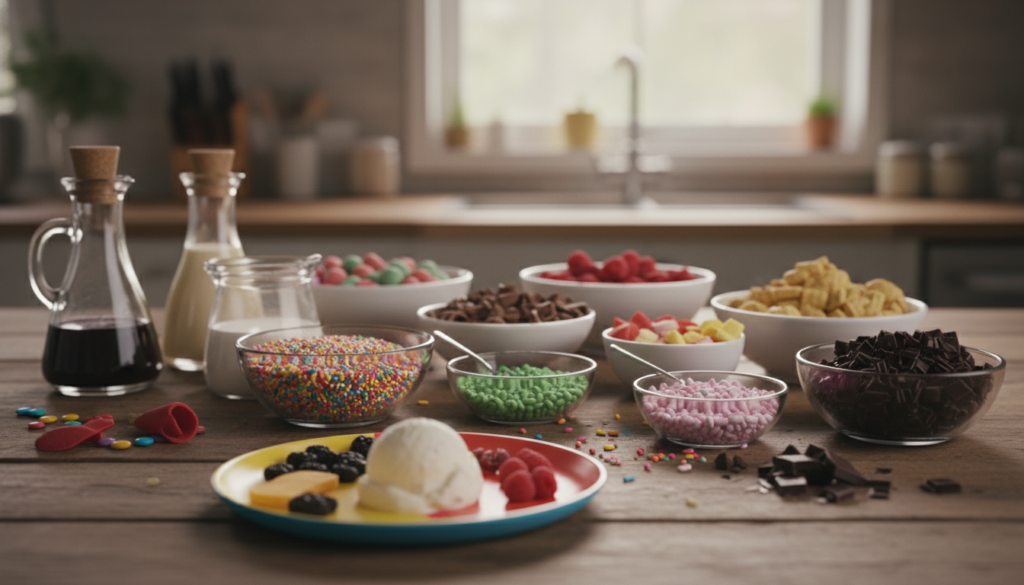
Once your chocolate shell is set, you can make your frozen dessert bar even better. Add different toppings to change the flavor and texture. Here are some fun ideas:
- Crushed Roasted Nuts: Almonds, peanuts, or hazelnuts add a nice crunch.
- Freeze-Dried Fruit Powders: Strawberry or raspberry powders give a fruity flavor.
- Sea Salt: A sprinkle makes it sweeter and adds class.
- Chocolate Drizzles: White or dark chocolate drizzles look elegant.
These toppings make your treat look great and taste even better. They contrast with the creamy inside. Try different toppings to match the season or your taste.
Want to have fun? Make themed bars. Use pumpkin spice for fall or coconut and pineapple for summer. You can make your treat unique and fun.
Techniques for Achieving a Smooth Texture
Making perfect ice cream on a stick needs focus on texture. A smooth texture makes it a joy to eat. The speed of freezing is key. Faster freezing means smaller ice crystals, making it creamier.
To improve freezing, try these methods:
- Set your freezer to its coldest setting, ideally below -5 degrees Fahrenheit, during the hardening phase.
- Use an immersion blender to mix your base before pouring it into molds. This adds air and breaks down fat globules.
- Pour the mixture into molds quickly to avoid warmer air.
These steps are important to avoid a grainy or icy feel. With the right methods, you’ll get a smooth and creamy ice cream on a stick that will wow everyone.
Tips for Storing Your Individually Wrapped Ice Cream
Storing your ice cream right is key to keeping its taste and texture. A few easy steps can help your ice cream stay fresh and tasty longer.
Maintaining Freezer Temperature
It’s important to keep the freezer at a steady temperature. Changes can cause your ice cream to melt and then freeze again. This can ruin its quality. Here are some tips:
- Store ice cream in the back of the freezer where it stays coldest.
- Avoid frequent door openings to maintain temperature.
- Check your freezer’s temperature regularly; it should be at or below 0°F (-18°C).
Preventing Freezer Burn
Freezer burn can make your ice cream taste bad and feel icy. To avoid this, try these:
- Wrap each individually wrapped ice cream in parchment paper.
- Follow with a layer of plastic wrap for extra protection.
- Store in an airtight container if possible.
By using these storage tips, your ice cream can stay good for up to two weeks. Enjoy your tasty creations worry-free!
Troubleshooting Common Freezing Issues
Making a perfect novelty ice cream treat can sometimes come with challenges. You might find that your ice cream has a soft center or a cracked chocolate shell. These issues often stem from improper cooling times or incorrect freezer settings.
Here are some common problems and how to fix them:
- Soft Center: If your ice cream bar isn’t firm, it may not have chilled long enough before freezing. Ensure your base is thoroughly chilled before placing it in the freezer.
- Cracked Shell: A cracked chocolate coating usually happens when the ice cream is too cold during dipping. Let the dipped bar sit at room temperature for about 30 seconds before coating.
- Freezer Burn: This can occur if your ice cream is not wrapped properly. Use airtight packaging to keep your treats fresh.
Adjusting your freezer’s thermostat can also help. Make sure it’s set to the optimal temperature for freezing. Systematic testing of these variables will refine your process over time, ensuring your novelty ice cream treat turns out just right.
Flavor Combinations for Vanilla Ice Cream Bar Variations
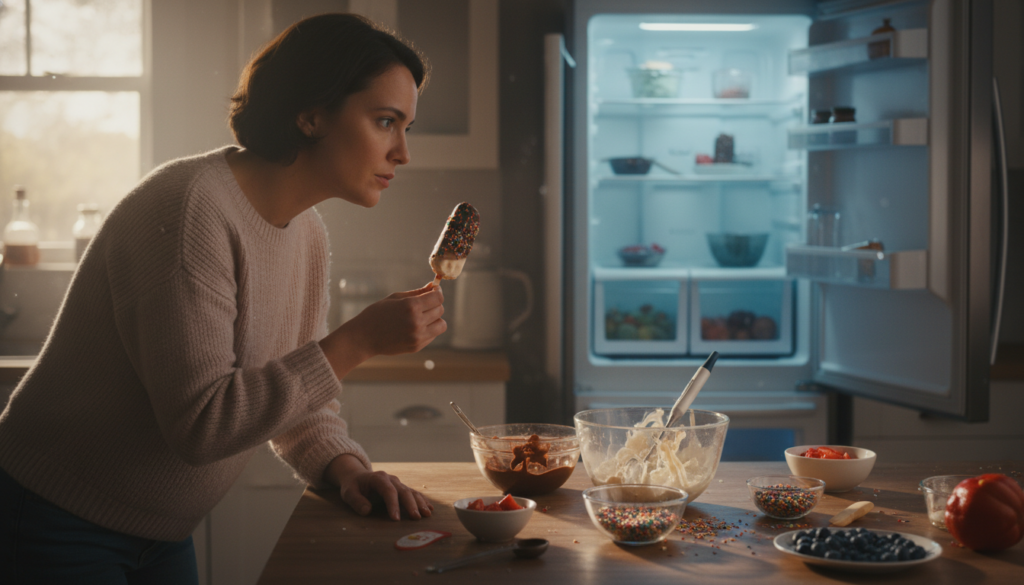
A classic vanilla ice cream bar is a great base for new flavors. You can make it even better by adding special ingredients and textures. Here are some fun ideas to make your vanilla ice cream bar a hit.
Fruit Infusions
Fruits can make your vanilla ice cream bar even more exciting. Try these:
- Swirl in a concentrated raspberry reduction for a sweet-tart flavor.
- Add a mango puree to introduce tropical notes.
- Incorporate finely chopped strawberries for a fresh and fruity crunch.
Nutty Additions
If you love nuts, here are some great options:
- Fold in toasted pistachios for a rich, earthy flavor.
- Mix in crushed hazelnuts to enhance texture and taste.
- Sprinkle almond slivers on top for added crunch.
These ideas can turn a simple ice cream bar into a complex dessert. Make sure your additions are dry or reduced to avoid ice crystals.
Serving Suggestions for Your Frozen Dessert Bar
Make your frozen dessert bar stand out with a beautiful presentation. Start by arranging your individually wrapped ice cream on a chilled platter. Place the platter on a bed of crushed ice to keep the treats firm and fresh. This simple step adds a touch of elegance to your setup.
Offering a variety of dipping sauces can make the experience even better. Here are some popular options:
- Warm salted caramel
- Hot fudge
- Chocolate ganache
Guests enjoy making their treats their own. Providing small bowls of toppings can encourage interaction. Consider these delightful options:
- Toasted coconut
- Rainbow sprinkles
- Chopped nuts
- Crushed cookies
These thoughtful touches turn your homemade frozen dessert bar into a sophisticated event. Guests will love the chance to personalize their treats, making the occasion even more enjoyable.
Conclusion
Making a homemade vanilla ice cream bar is fun and rewarding. It lets you mix creativity with skill. With top-notch ingredients and careful temperature control, you can make amazing chocolate covered ice cream treats.
In this guide, you’ve picked up many tips to improve your ice cream-making. From choosing the right tools to trying new flavors, each step helps you succeed. Feel free to experiment with different combinations and techniques to make your desserts even more special.
Enjoy making these cool treats. Share your chocolate covered ice cream bars with loved ones and see the smiles. Your homemade vanilla ice cream bar can be a special treat for any event.