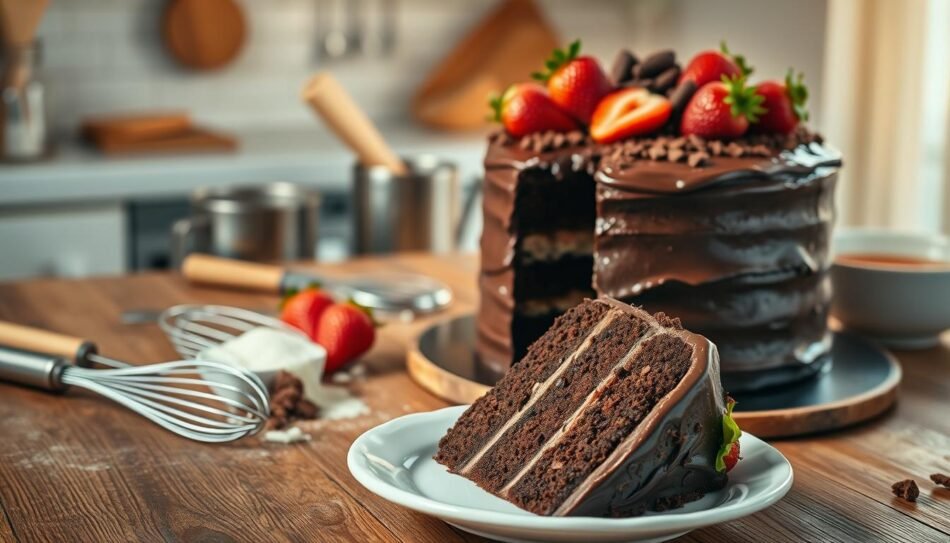

Learn how to bake a perfect chocolate cake with this easy, time-tested recipe. Create a moist, delicious dessert that will impress your guests every single time.
Think about your last special gathering. The laughter, the connection, the shared joy. Often, the heart of these memories is a centering dessert that brings everyone together.
Creating that standout treat can feel daunting. What if you could make a reliable, crowd-pleasing masterpiece? According to food scientist Christina Marsigliese, this specific chocolate cake recipe is the #1 most requested by clients of bakery owners globally.
This guide shares that celebrated formula. It’s designed to be foolproof, translating professional techniques for any home kitchen. You’ll understand the role of each component, from the ingredients to the mixing method.
How to Bake a Perfect Chocolate Cake for Your Celebration
The result is a decadent, fudgy creation with an ultra-soft crumb. Remarkably, it stays moist for over a week and even improves with age. Imagine serving a slice that tastes like it came from a boutique bakery.
Key Takeaways
- This celebrated recipe is the most requested by bakery customers worldwide.
- The cake maintains a soft, moist texture for more than a week.
- The baking method is foolproof for bakers of all skill levels.
- Understanding the ingredients and science ensures consistent success.
- The final dessert is rich in chocolate flavor and has a professional quality.
- It’s an ideal treat for celebrations, creating lasting memories with loved ones.
Understanding the Perfect Chocolate Cake
Every iconic dessert has its story, and this confection is no exception. Its evolution is the tale of culinary refinement.
The history and appeal of chocolate cakes
Food scientist Christina Marsigliese highlights the 1920s as that pivotal decade. Recipe innovation flourished, including Florence White’s “Really Delicious Chocolate Cake.”
This era set the standard for modern versions. The appeal lies in timeless, comforting flavor.
What makes a cake truly “perfect”
A stellar creation balances sugar and liquid exactly. This balance ensures soft, moist crumb structure for days.
An even crumb, resembling store-bought product, is key. Yet, it uses only simple, real ingredients.
Understanding cocoa powder is crucial. It provides deep flavor without weighing down the batter.
| Characteristic | Perfect Cake | Common Flaw |
|---|---|---|
| Crumb Structure | Even, fine, and tender | Dense or uneven |
| Moisture Retention | Stays soft over one week | Dries out quickly |
| Chocolate Flavor | Rich, pronounced, from quality cocoa | Weak or artificial taste |
| Ingredient Simplicity | Relies on basic flour, sugar, etc. | Overly processed additives |
Professional bakers prioritize this moist, dark texture. It maintains integrity even after refrigeration.
Your final dessert should deliver a true chocolate punch. Avoid pitfalls like dense textures or lack of flavor.
The baking process relies on precise measurements. Using the correct cup of each component ensures consistency.
Essential Ingredients and Tools
Your journey to a standout treat starts with selecting premium supplies. The right components and equipment ensure your chocolate cake recipe turns out consistently.
Dry Ingredients: Flour, Cocoa, and Leavening Agents
Begin with your dry components. All-purpose flour forms the structure. High-quality cocoa powder delivers deep, rich flavor.
A pinch of salt balances sweetness. Leavening agents like baking powder require careful measurement.
Sift them with your dry ingredients to prevent clumps. This ensures an even rise during the baking process.
Wet Ingredients: Eggs, Oil, Sour Cream, and Coffee
Fresh eggs bind the batter and add stability. Vegetable oil, such as sunflower oil, keeps the crumb moist for days.
Full-fat sour cream is a secret weapon. It provides dairy richness and body, especially in recipes without butter.
Hot coffee is a unique addition. It dissolves sugar and activates leavening for immediate lift.
For frosting, pure dark chocolate with 60% cocoa solids yields a fudgy complement. Always measure with a kitchen scale for precision.
Use a large bowl for mixing and a standard measuring cup for liquids.
How to Bake a Perfect Chocolate Cake
Transforming simple components into a decadent dessert is a straightforward process when you follow a clear sequence. This walkthrough details the celebrated formula.
Step-by-step walkthrough of the recipe
Begin by sifting your dry ingredients—flour, cocoa powder, baking powder, and baking soda—into a large bowl. Whisk in the sugar thoroughly.
In a separate vessel, combine the wet ingredients: eggs, vegetable oil, sour cream, and vanilla extract.
Pour the wet mixture into the dry. Mix only until just combined. Now, add hot coffee in two stages, stirring gently after each. Your batter will be thin.
The cardinal rule for a tender crumb is to stop mixing the moment the last streak of flour disappears.
| Step | Right Way | Wrong Way |
|---|---|---|
| Combining Mixes | Fold until just blended | Overmix, causing tunneling |
| Adding Coffee | Gradual, in two parts | Dump all at once, causing clumps |
| Final Batter | Thin and fluid | Thick and pasty |
Divide the batter evenly between pans. Bake for 30-33 minutes. Cool the cakes in pans for 15 minutes before transferring to a rack.
Once completely cool, you can apply your frosting. Following this recipe ensures you make your cake rich, soft, and professional.
Mixing Techniques and Baking Science
Behind every slice of tender cake is a precise interplay of chemistry and technique. Grasping these principles ensures your chocolate cake turns out consistently moist and flavorful.
Proper blending of dry and wet ingredients
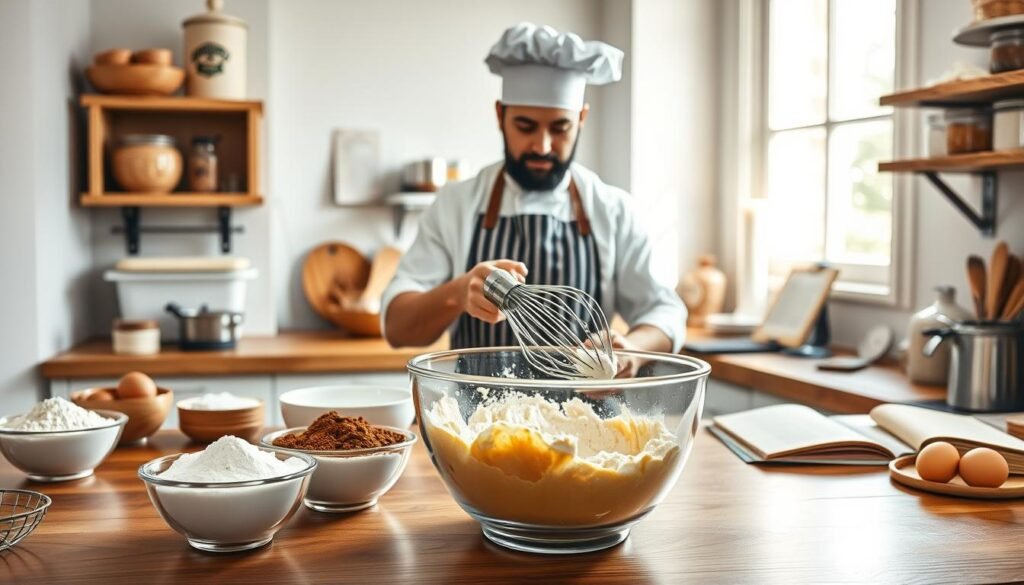
Start by whisking your dry ingredients in a large bowl. This evenly distributes baking powder and cocoa powder.
Sugar plays a clever role here. It competes with water from your wet mix, limiting gluten development in the flour. This keeps the crumb tender.
Cocoa powder also helps. Since it lacks gluten, it breaks up flour particles for a softer texture.
The role of hot coffee in achieving a moist crumb
Adding one cup of hot coffee is a game-changer. The heat accelerates starch gelatinization, trapping moisture inside the cake.
This creates a fluid batter, which is essential for that wonderfully moist crumb. The hot liquid also activates leavening agents immediately for a good rise.
Stop mixing the moment the last streak of flour disappears to prevent tunneling.
Your final chocolate dessert will boast a rich, fudgy texture. This understanding elevates your recipe from simple to spectacular.
Mastering the Cake Batter Consistency
Achieving bakery-quality results at home hinges on one critical factor: batter consistency. The texture of your final dessert is locked in during the mixing stage.
Importance of measuring ingredients correctly
Mastering your batter starts with measuring flour correctly. Adding too much is the top error in baking. It creates a tough, dry cake instead of a moist one.
For accuracy, use a kitchen scale. Volume measures like a cup can vary widely. A scale ensures all your ingredients, including sugar, are balanced perfectly.
If you lack a scale, fluff the dry ingredient with a spoon. Gently spoon it into your measuring vessel and level it off with a knife.
Consistent cocoa powder measurement is equally vital. It provides the primary chocolate flavor and structure for your recipe.
Your mixture should be quite runny. Resist adding extra flour to thicken it. This thin consistency is by design.
Proper measurement means layers bake evenly. They hold their shape after cooling. Your chocolate cake will be smooth, not dense or gummy.
Always double-check your measures before mixing. This diligence ensures a professional chocolate dessert every time.
Perfecting the Baking Process
Your oven’s readiness and pan preparation set the stage for a flawless rise. This phase locks in the texture and structure of your dessert.
Preheating your oven and preparing cake pans
You must preheat your oven to 350°F. Ensure it is fully heated before the pans go in. This prevents leavening agents from reacting too soon.
A flat result is often due to a cool oven. Preparing your pans is equally vital. Dust them with cocoa powder instead of flour.
This helps the batter cling to the sides for a higher rise. Lining the base with parchment paper guarantees a perfect release every time.
Avoid springform pans. The fluid mixture can leak out before it sets.
Timing and temperature tips for optimal rise
Set a timer for 30-33 minutes. Consistent temperature is key for an even structure. Check progress near the end of the baking time.
Insert a skewer into the center. It should come clean when the cake is done. The top will also spring back when pressed gently.
Monitoring baking time is crucial. Even a few extra minutes can dry out your chocolate cake. Follow these guidelines for a domed layer.
Your finished cakes will be ready for your favorite frosting. This recipe relies on precise time and heat control.
Creative Variations for Celebrations
Your gathering deserves a centerpiece dessert that fits its scale and style, from intimate to grand. This celebrated recipe is wonderfully versatile. You can shape it into different forms to match any occasion.
Layered vs. Single-Layer Cakes
A multi-tiered creation makes a dramatic statement. Stacking cake layers with frosting in between offers a more decadent experience. It’s ideal for birthdays and anniversaries.
A single layer is perfect for casual tea time. It’s simpler to manage and still delivers that rich chocolate flavor. Both options use the same reliable batter.
Adapting the Recipe for Cupcakes and Sheet Cakes
For portable treats, make about 18 cupcakes. They bake in just 15-20 minutes. This is a fantastic option for parties where guests can grab and go.
Feeding a crowd? Use a 9×13-inch pan for a fluffy sheet cake. It’s moist and perfect for large gatherings. The fundamental science of the recipe ensures success in any pan.
The same master formula can become a towering centerpiece or a batch of friendly cupcakes.
| Format | Servings | Bake Time | Best For |
|---|---|---|---|
| Cupcakes | About 18 | 15-20 minutes | Parties, kids’ events |
| Sheet Cake | 12-15 | 30-35 minutes | Large gatherings, potlucks |
| Layered Cake | 8-10 | 30-33 minutes | Birthdays, formal celebrations |
Feel free to double the frosting for a thicker coat. A dusting of cocoa powder adds visual interest. Your chocolate dessert will be a hit, no matter the form.
Tips for a Moist and Delicious Texture
Ever wonder why some cakes dry out overnight while others stay soft for a week? The answer is in the sugar.
Sugar is hygroscopic. It binds water tightly within the batter structure. This keeps your dessert fresh for over seven days.
Understanding moisture retention and sugar’s role
Moisture in a cake comes primarily from liquids like hot coffee or water. It does not come from fat. This is why an oil-based recipe is so successful.
While butter adds flavor, oil creates an ultra-soft texture. It stays liquid at room temperature. Never reduce the sugar in this formula. It is essential for maintaining moisture levels.

Store your creation in an airtight container. Room temperature or the fridge works. This preserves the tender crumb.
Focus on the liquid-to-dry ratios. Your chocolate dessert will stay delicious for days. A moist cake is the hallmark of a successful dessert.
Troubleshooting Common Challenges
Understanding why problems occur is the first step toward flawless results. A few simple adjustments can correct most common baking mishaps.
Preventing Overmixing and Addressing Tunneling
Tunneling appears as large holes in your cake crumb. It is often caused by overmixing the batter or uneven leavening.
Prevent this by using a whisk to gently combine ingredients. Stop the moment the last streak of flour disappears. Always sift your dry ingredients, especially cocoa powder.
Solutions for Flat Cakes and Ingredient Substitutions
If your layers turn out flat, check your leavening agents. Expired baking powder or soda will not provide lift.
For those who cannot use sour cream, full-fat Greek yogurt works well. It maintains the rich, tangy profile. Need to avoid caffeine? Substitute hot water or decaf coffee.
| Common Issue | Likely Cause | Simple Solution |
|---|---|---|
| Tunneling Holes | Overmixed batter | Mix until just combined |
| Flat, Dense Layers | Old leavening agents | Use fresh baking powder/soda |
| Dry Texture | Overbaking or too much flour | Set a timer, measure carefully |
| Weak Chocolate Flavor | Low-quality cocoa | Use high-quality unsweetened cocoa powder |
You can freeze your cake layers for up to three months. Wrap them in plastic, then foil. This lets you prepare for events ahead of time.
Your chocolate dessert will be a success every single time. Address these challenges with confidence.
Conclusion
The journey from simple pantry staples to a show-stopping centerpiece is now complete. With this guide’s principles, creating a professional-quality chocolate dessert is entirely within your reach.
Success hinges on understanding your ingredients. High-quality cocoa powder delivers deep flavor, while precise measures of flour and sugar ensure a moist texture. Always let your cake layers cool completely before adding frosting for the best finish.
This versatile recipe adapts for any event, from cupcakes to layered cakes. You can even prepare layers ahead of time. You now have the knowledge and confidence to proceed.
Your next celebration deserves a truly delicious, homemade masterpiece. Share this rich, moist chocolate cake and create sweet memories with every slice.